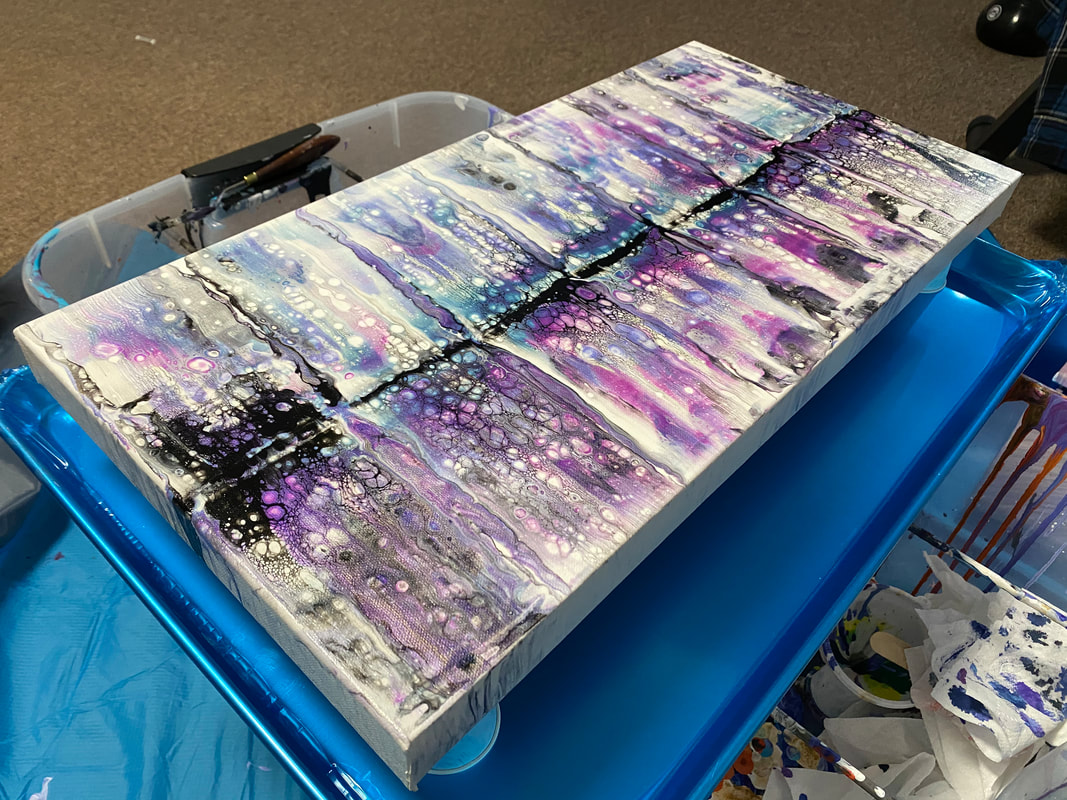
There are so many ways to finish an acrylic painting. For many years, I've opted away from varnishes because I love the look of my paintings without a top coat. Yet, there is just something about fluid art that demands a beautiful, glossy finish. My favourite finish for my fluid art is resin. It's the most work, but boy, does it ever deliver! Colours pop and metallics shimmer with unparalleled depth. My process is pretty simple, as far as resin goes. I've heard all the ten-step processes, but I don't have time to wash, baby powder, wash again, etc. etc. Yes, resin is finicky (to put it nicely), but it doesn't have to be painful. My go-to brand is Art Resin - it's the only brand that doesn't require a ventilator. This non-toxic resin is non-yellowing, protects from UVs, and is heat resistant up to 120°F, which means it's good for hot mugs of coffee but not for dishes that are coming out of the oven. 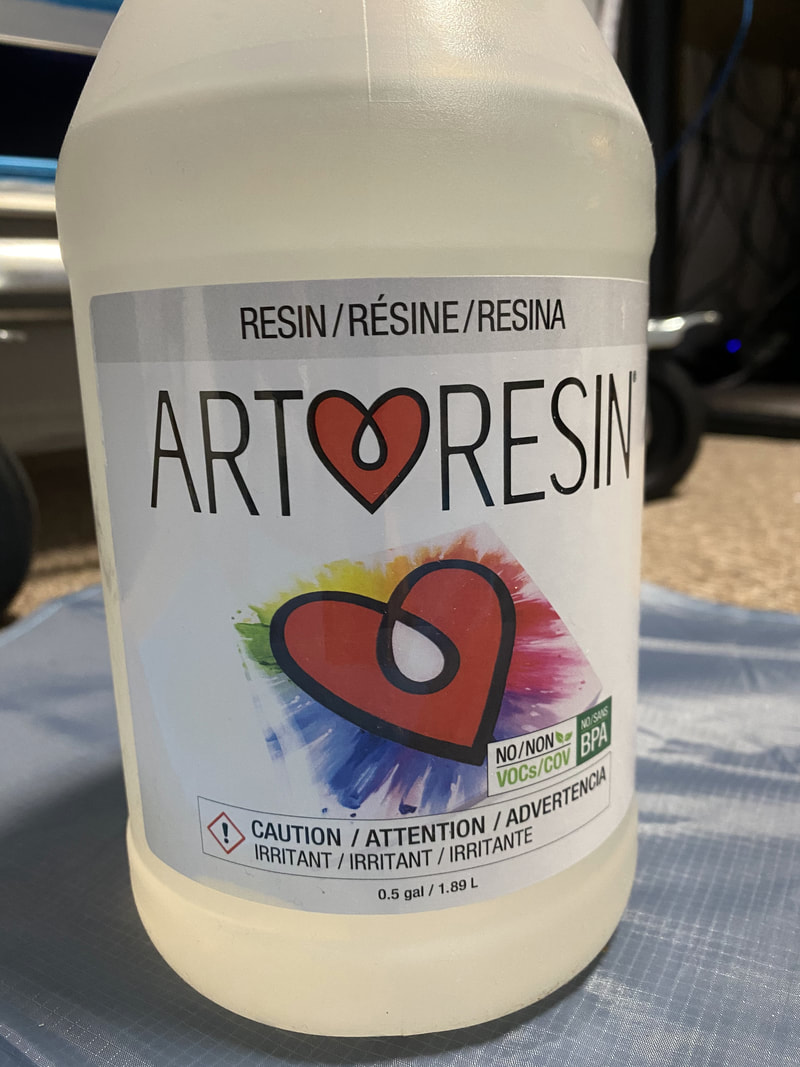
Disclaimer: While Art Resin has provided me the product for this post, my opinions are completely my own and not biased as I was using their product prior to when they contacted me. Any links in this post are NOT affiliate links, and I do NOT make any commission off sales generated from your clicks.
All that being said, if you want to help support me as an artist, you can buy me a coffee. :) Now, before I resin, I prep my canvas. The paint must be fully dry - so I wait 3-4 weeks from creation before I start this. Once it's ready to prep, I use windex (most glass cleaners will work fine for this) on a paper towel and gently wipe the surface. **If any more than a hint of paint comes off at this point - STOP - and wait another week before you try again. Immediately after windex-ing, I apply TWO thing coats of glossy Mod Podge with a foam brush, about 20-30 minutes apart. From here, I'll wait at least 24 hours before I resin. ANY touching of the canvas after this point MUST be done while wearing gloves. Your finger oils will stick to the surface and prevent the resin from applying properly. Here is what it looks like with just Mod Podge.
I always make sure I have everything I'm going to need during the resin process ready prior to opening those bottles. A clean, level surface for my work, plenty of light, my torch, a needle for removing any tiny debris, a stir stick with a straight edge, measuring cups, and gloves.
As Art Resin's website recommends, you mix equal parts hardener and resin and stir gently for 3 minutes. Gently, because you don't want too many air bubbles, but don't worry if you get them anyway, that's what the torch is for. As you stir, scrape the sides of the cup and the stir stick a few times, making sure everything is well combined. 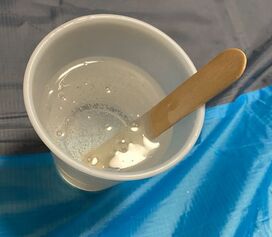
When you're ready, take a deep breath and pour the resin over your canvas. Don't rush - unless you've prewarmed your resin, you have about 45 minutes of working time.
This resin is self-leveling when it's at least 1/8" thick. Don't know how much resin you need? Use their calculator!
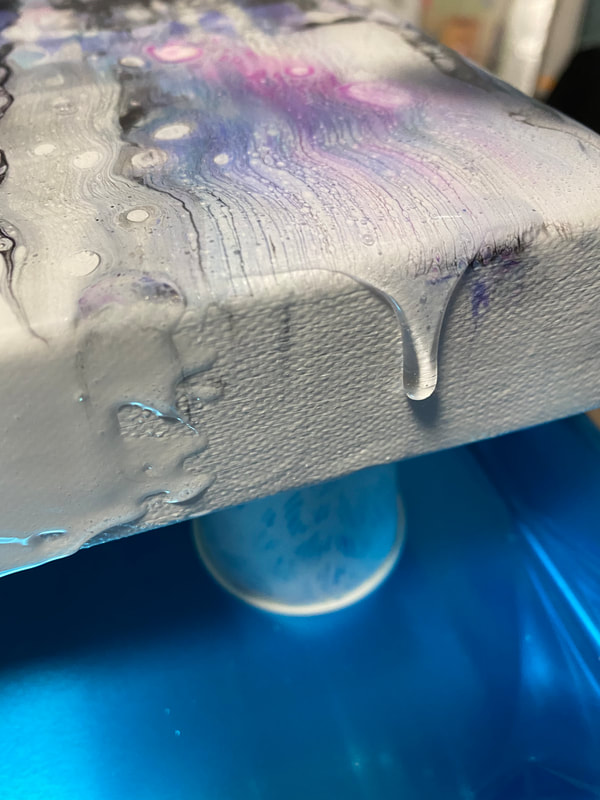
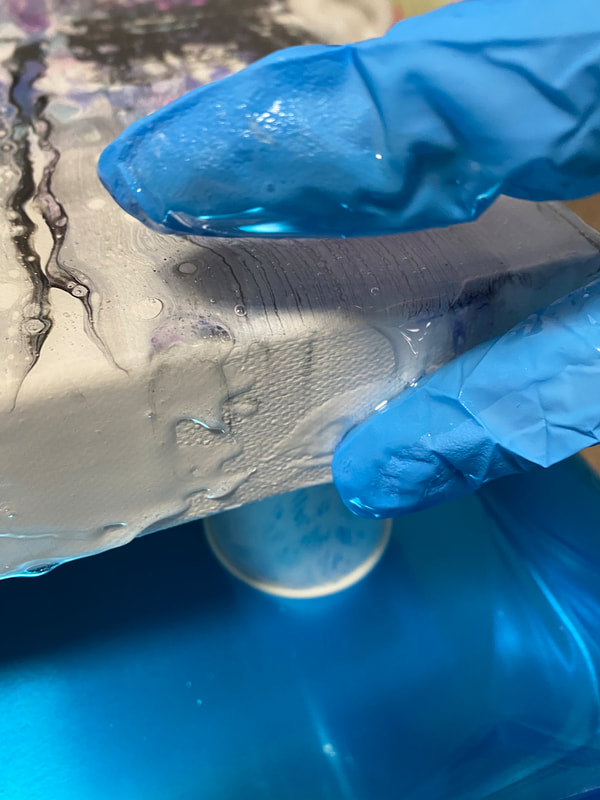
Some prefer to tape their edges, but I like the shine to continue on the sides, so I encourage the resin to run off and use my hand to smooth it out.
You can also tape the back to protect from drips hardening there, but I always forget. So after everything is cured, I use a heat pen and an precision blade to remove the drips. Even if you tape, you'll still likely need a heat pen/gun to soften the resin enough to remove the tape. If you are around all day, you can always check on your work in 1-2 hours and use a popsicle stick to scrap drips off before they harden. After your resin is level over your painting, use your heat gun or torch a few inches above the surface to pop any air bubbles trapped within the resin. If you have a hard time seeing them, try using a bright light to reflect off the surface and see the tiny bumps. More bubbles may surface over the next 30 minutes, so you may want to repeat this process. 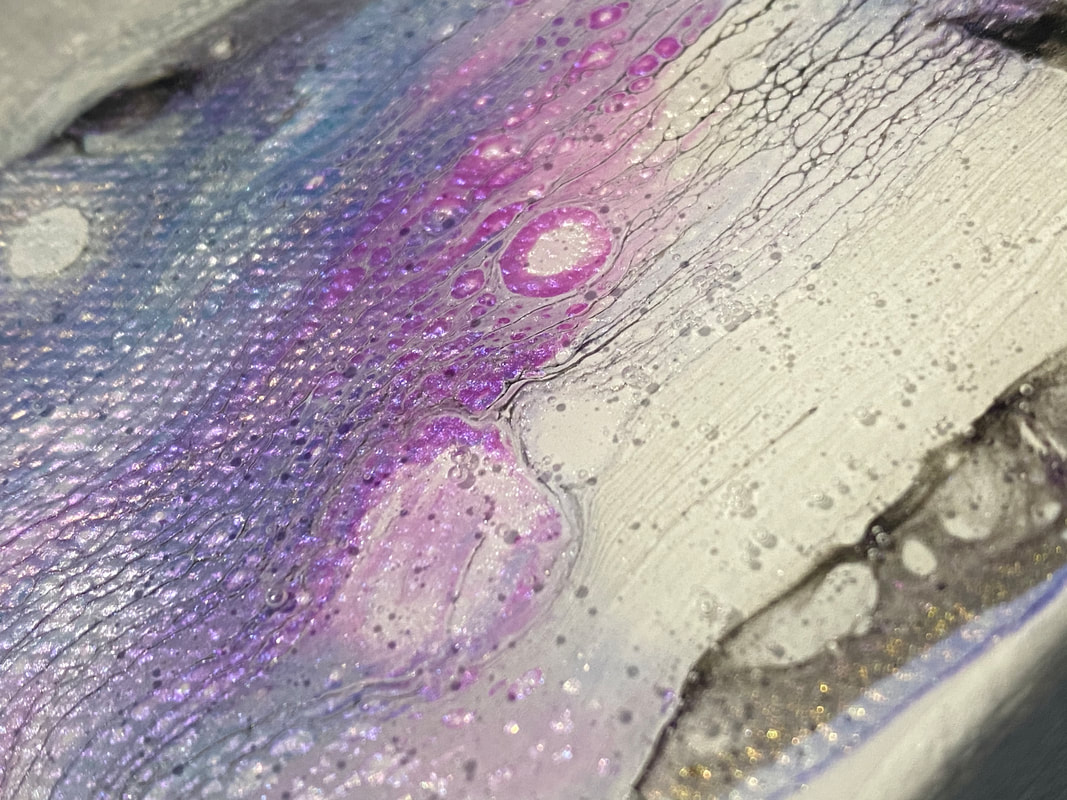
Grrr. Bubbles.
I find that no matter how gently I pour and stir my resin, I still get a billion tiny bubbles. My torch is my best friend :)
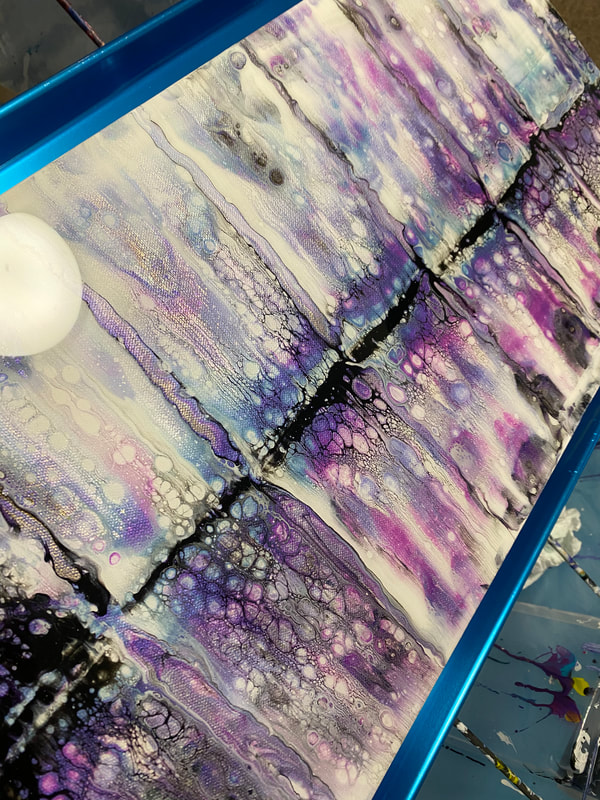
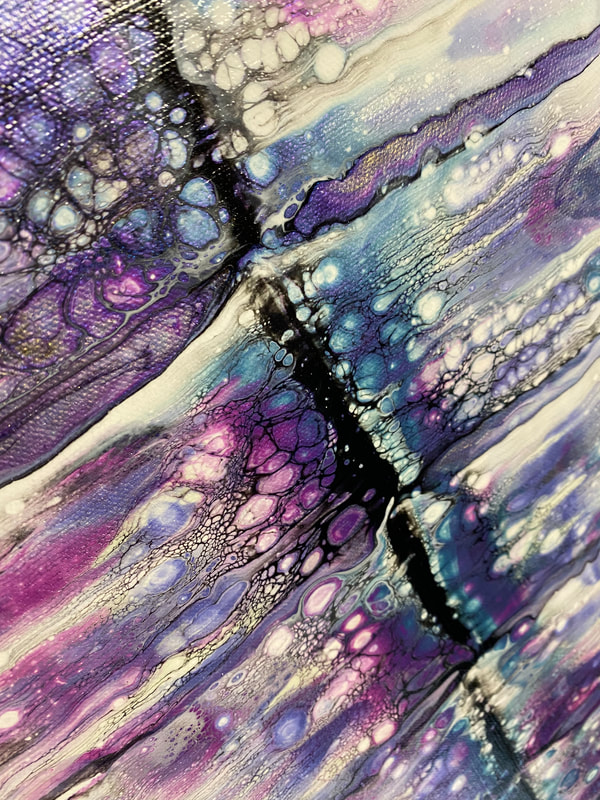
Cover your painting while it's curing! And make sure whatever you cover it with isn't full of dust. Tiny particles can ruin all your hard work - though this is still fixable with a little sandpaper and a second coat of resin. And that's it! Leave it to cure, try not to check on it too many times (dust could get in an sabotage you). Here's a few photos of the finished piece! 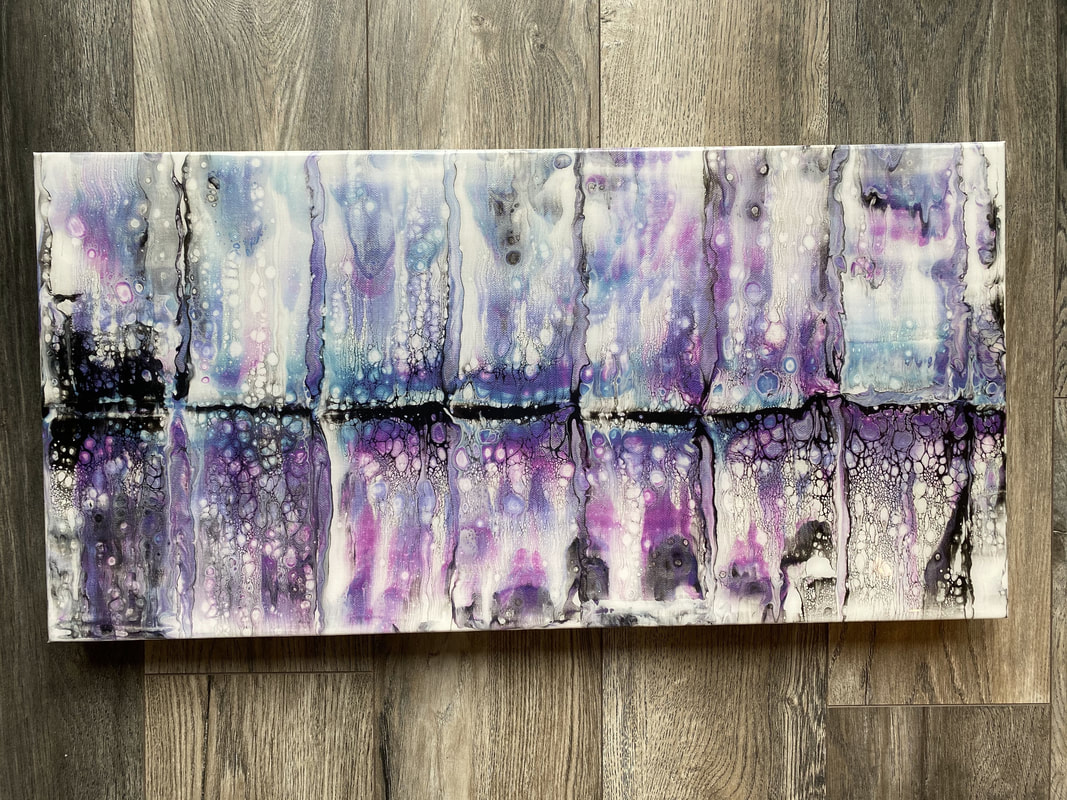
2 Comments
Samantha
9/8/2021 10:22:49 am
Your painting turned out beautifully. Love the colors you chose. Thanks for the great tips on how to prepare your painting before you resin as well as how to deal with the resin when it drips over the edge and onto the back of your art. Have you ever tried warming your resin to help with the bubbles? I wonder if that would help. Leave a Reply. |
AuthorAmanda is a writer, artist, and mom from British Columbia, Canada. ArchivesCategories |
 RSS Feed
